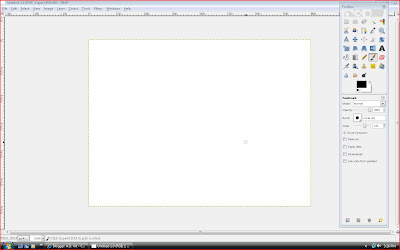
 Creating a bright and interesting wallpaper can be quite easy. The first step to creating wallpapers is to have a good image editing/creating program. In this tutorial, i'll be using GIMP which can be downloaded for free at GIMP.ORG. After downloading GIMP, open the program. Now we begin the fun stuff. The first thing you'll want to do is go to the "File" menu and then to the "New" option. A screen should appear requesting what size you want the image to be. It should be preset to pixel measurement, but if it isn't, change it to that. Now type in the resolution of your computer screen into the boxes. (Example: My screen resolution is 1440x900 so for Width i'd type in 1440 and for Height i'd type 900.) Once you've chosen the size, click the "ok" button. You should now have a big white square/rectangle in the middle of the GIMP screen, much like the image shown here.
Step Two: The Gradient Tool
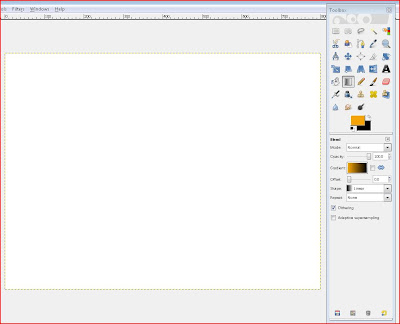 Now that you have a blank canvas, you need to add some colour. In the Toolbox, click on the Gradient tool (a little box that fades from black to white). Once you have selected the gradient tool, then you'll need to pick a couple colours. Click on one of the large boxes below all the tools in the Toolbox. Select what colour you want from the menu that pops up. Now do the same for the other box. (Hint: For more depth, try one colour being black and the other being a brighter colour, such as bright red or orange.)
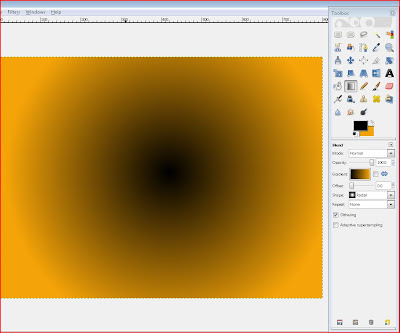 Once your colours are chosen you'll need to configure the Gradient tool options. For optimal results, under the Gradient tool's "Shape" option, choose Radial. For "Mode", opt for Normal, for "Opacity" 100.0 is best, "Offset" should be set to 0.0, "Dithering" can be selected but it's not completely necessary, "Repeat" should be set to None and "Adaptive Supersampling" should not be selected.
So that the darker colour is in the center of the pool, in the Gradient tool options, where the fade colour box is, click the little two pointed arrow until the darker colour is on the left side of the box. Now take the mouse pointer to the center of your white canvas. Click, hold, and drag the line all the way to the edge of the canvas (to either right or left side, or even top or bottom, whatever works for you). Let go of the mouse button and colour should appear. Your gradient should look somewhat like mine in the image here. Darkest colour in the center, lightest on the outside.
Step Three: Adding Funky Little Details
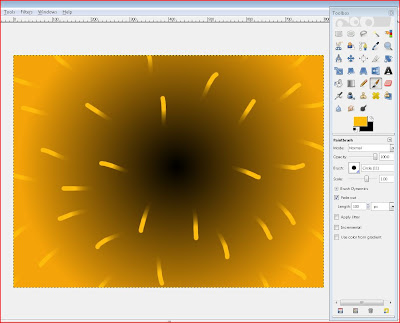 This is the time when you get to play around and figure out what looks best to you. Now you get to add little details, such as Fade Out Brush strokes. Here, i did a simple Fade Out Brush stroke using a brighter orange colour. I selected the Paint Brush tool, opted for size 11 circle brush with a Scale of 1.0, Opacity of 100.0, and a Fade out length of 100 px. I clicked down on the canvas, held the button and dragged the pointer so that the fading areas were toward the dark center and the solid areas toward the bright outside. You can do that, or you can choose to do something different. If you make a mistake, you can always go to "Edit" in the top bar of the GIMP program and click Undo.
 Step Four: Ripple and Waves
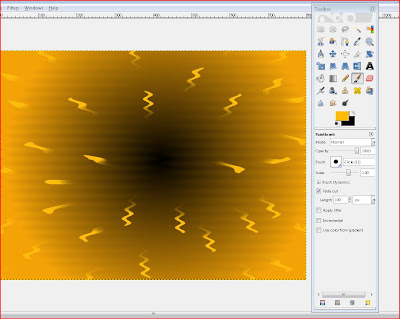 Now we do the step that makes the image start to look like water. Under the Filter menu in the top bar, go down to Distorts and then choose Ripple. In the Ripple options, Antialiasing should be selected, Orientation can be horizontal or vertical, which ever looks best to you, the Edges should Wrap, and the Wave Type can be Sine or Sawtooth (Sine does look smoother though). Now the Period, Amplitude and Phase Shift can be adjusted accordingly and whatever you think looks best you can go with.
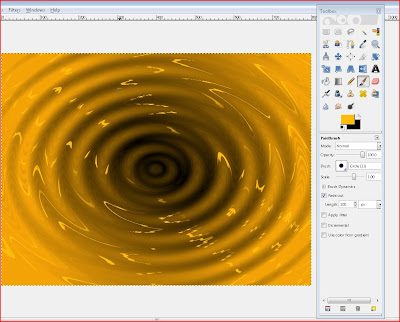 Now we have the final step, in which the picture looks most like something liquid. Again, go to Filters, Distort, and then down to Waves. In the Waves options there is an area called Mode, i strongly recommend choosing Smear instead of Blacken. And i also recommend not using the Reflective option, but again, whatever looks best to you, feel free to experiment, there's a Preview Window for a reason. Now you can play around with the Phase, Amplitude, and Wavelength options like you did with the Rippling. Once you feel you're done, save your image as a JPEG or JPG file. Then you can go to your PC or Mac's personalization options and add the picture to your desktop. You could also post the picture to the internet for other's to use as well, like i've done with the image we saw in the Tutorial.
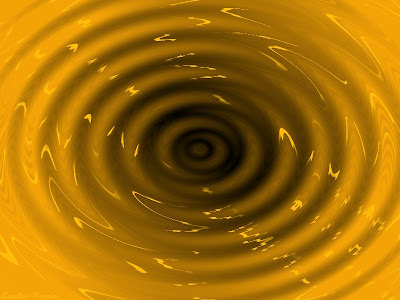 Feel free to click the image and set it as your background. This one is only 800x600 though.
No comments:
Post a Comment
Really? A Comment? You are so great, thank you for commenting (unless you're spamming the comment box, in that case, f-you!)!!! We bloggers love comments, we really really do.